Welcome to the first practical.
In this practical we will be exploring the datasets and functionalities of Google Earth Engine. If all is well, you have created an account on earth engine by following the instructions on the starting page.
There is some background available for this practicum (introduction provided in class). You can access the presentation here
Step 1: exploring the interface
Now that you have your account, you can surf to the code editor. Your screen should look like this:
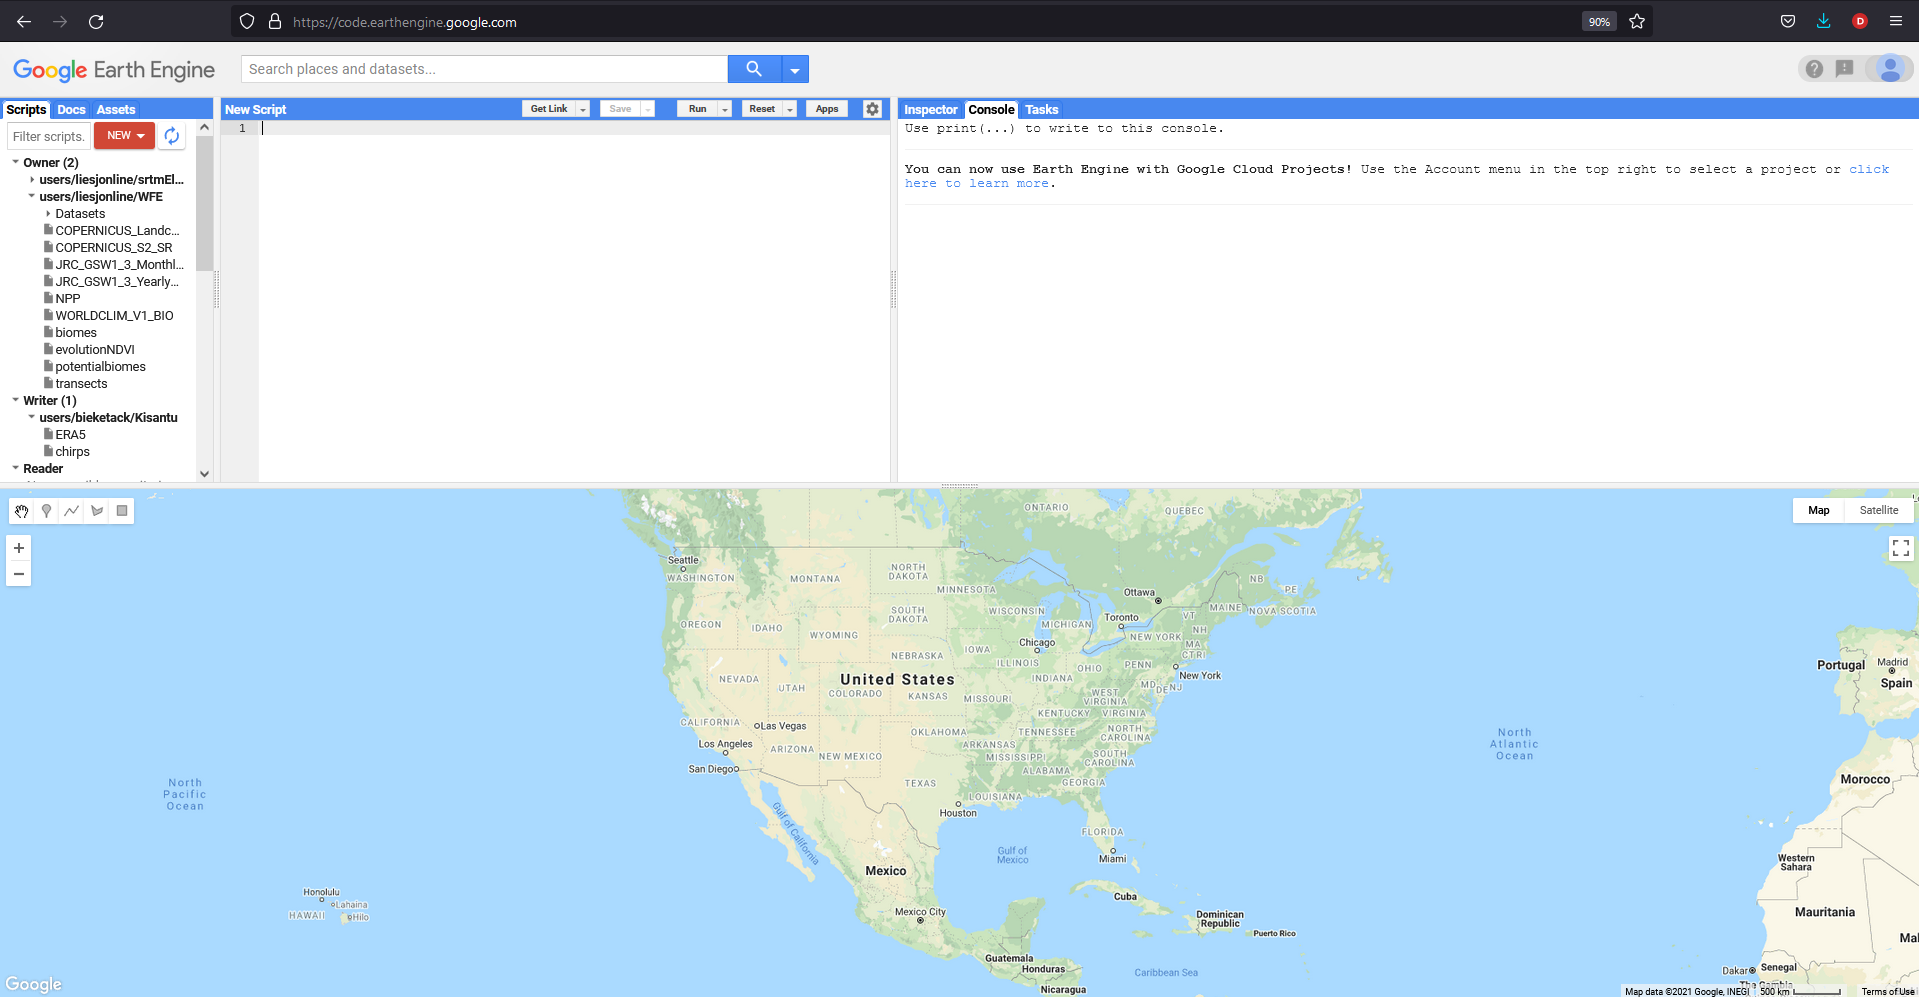
The code editor basically consists of 4 windows:
- On the bottom of the screen, you can see a basemap, and any spatial information you plot (see later for examples) will show here.
- On the left you see a window depicting the scripts you have written (or got from other people)
- The middle of the screen is devoted to the script you are currently working on or running. At the beginning of your adventures, this is still blank.
- On the right the panel shows either ‘inspector’, ‘console’ or ‘tasks’. For now, the console is most important: here textual information or figures you wish to print or show are given.
Step 2: exploring the code
The Google Earth Engine interface, as you see it above, runs on JavaScript. It might seem scary to be confronted with a new (and at times cryptic) language, but no worries: we’ll go step by step.
To access, explore and use Google Earth Engine, only a basic understanding of JavaScript suffices. As we saw in class, the basic building blocks of writing code (in python, R, Javascript…) is (i) the identification of the necessary variables, (ii) the identification of the appropriate functions, (iii) understanding which input parameters these functions require.
Of course, although the building blocks are similar, the syntax can differ quite a bit. Some key tips and tricks for JavaScript are listed here (source: Earth Engine 101 Beginner’s Curriculum.)
NOTE
Try to copy-paste some of these commands to your code editor in google earth and run it: what happens?
Commenting lines
// Line comments start with two forward slashes. Like this line.

/* Multi-line comments start with a forward slash and a star,
and end with a star and a forward slash. */
Defining variables
Variables are used to store objects and are defined using the keyword var.
var theAnswer = 42;
print(theAnswer);
Note that the equivalent in R would be:
theAnswer <- 42
print(theAnswer)
Defining string objects
String objects start and end with a single quote
var myVariable = 'I am a string';

// string objects can also use double quotes, but don't mix and match
var myOtherVariable = "I am also a string";
Statements should end in a semi-colon, or the editor complains.
var test = 'I feel incomplete...' //this is wrong
var test2 = 'I feel complete!';   //this is very okay
Passing function parameters :
Function parameters are included between parenthesis.
// Parentheses are used to pass parameters to functions
print('This string will print in the Console tab.');
Building a vector or list with multple items:
a list is built using [] brackets.
The zero index refers to the first item in a list*/
var myList = ['eggplant','apple','wheat'];
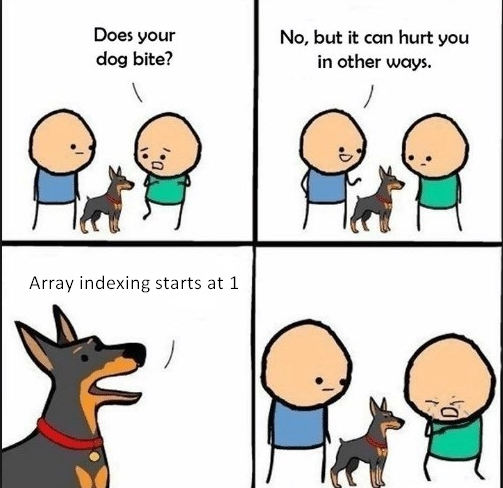
print(myList[0]); // would print 'eggplant' because JavaScript starts counting from 0 (and not from 1, like R)
Note that in R this is very similar, but slightly different as c() is used to construct lists, and R starts counting from 1 (not from zero):
#making a list in R using c() instead of the [] used in javascript
myList <- c('eggplant','apple','wheat')
print(myList[1]);
Using dictionaries
// Curly brackets (or braces) can be used to define dictionaries (key:value pairs).
var myDict = {'food':'bread', 'color':'red', 'number':42};

// Square brackets can be used to access dictionary items by key.
print(myDict['color']);

//Or you can use the dot notation to get the same result.
print(myDict.color);
Functions
Functions can be defined as a way to reuse code and make it easier to read.
var myHelloFunction = function(string) {
  return 'Hello ' + string + '!';
};
print(myHelloFunction('world'));
Again, this looks very similar to what it would be in R
myHelloFunction <- function(string) {
print(paste('Hello', string, '!'))}
myHelloFunction('world')
Quiz
- please open the uva office login page and login with your student account.
- Now refresh this github page
- fill in the quiz below
In this practical, you won’t have to write code yourself: we’ll simply adjust existing pieces of code, to get into the modus operandus. If you want to learn more, this source from the science park study group is an excellent starting point.
But now that you know the basics, let’s explore its functionalities